What Do Low-speed and High-speed Compression Adjusters Do?

January 17, 2022

You might be familiar with low and high-speed compression, but do you know how to adjust them and why you would?
Answering the questions above before making adjustments is crucial. You don’t want to change your damper settings only to realize you don’t know what you’ve changed and how it impacts your performance.
Gaining knowledge of how your low and high-speed adjusters work sets you on the right track to understanding how your suspension setup can bring previously untapped performance gains.
Low-speed and High-speed Compression Adjusters: What Do They Do?
Compression adjusters do what they say they do. Obvious, right? Yes and no.
Many drivers think low and high-speed have to do with how fast your car or bike is going. They actually refer to how fast or slow your shock is moving. Different movements and loads affect how fast or slow your shocks compress and rebound.
Before you make adjustments to low and high-speed compression, let’s differentiate between the two, so you can adjust your damper settings with confidence.
Low-speed Compression
Specific scenarios bring low-speed compression into play:
- Gradual altitude changes (even at high speed)
- Progressive power application
- Applying the brakes
These are all smooth loads on the suspension, and you can adjust the resistance to those movements and loads. If your low-speed compression settings aren’t optimized, you won’t feel confident in low-speed scenarios.
When your low-speed compression is too soft, you might experience wallowing leading to loss of control. You can stiffen it, get back out on the track and retest it until you’re happy.
Setting up your compression is always a compromise. With a stiffer feel, if you accelerate and don’t get enough traction, your car or bike is too high, and you can loosen your low-speed compression.
TIP: It’s challenging to feel a difference if you only adjust with one click. Try three or four clicks at a time and find a happy medium.
How to Adjust Low-speed Compression
Low-speed adjusters vary by design, make, and application.
On a bike, you might use a flat-head screwdriver to adjust low-speed compression, and adjustments are measured in clicks. If you find a shock that’s adjustable by 30 clicks, you can make 30 adjustments to compression.
Increasing compression allows the shock or damper to compress slower, so your bike or car will feel stiffer and more supportive. Conversely, decreasing compression allows the shock to compress faster, and your bike or car will feel softer and more supple.
High-speed Compression
High-speed doesn’t always correlate to how fast you’re going. It represents how fast your shock travels through its stroke, especially the entire stroke length. Even at 80 mph, a gradual incline is a low-speed compression movement because there’s hardly anything acting on the suspension. But, if you hit a bump at 30 mph, your shocks and springs have to react quickly to the high-speed movement, and your high-speed compression comes into play.
You can adjust the resistance to those bumps by making your shocks stiffer. Of course, comfort is paramount on regular roads, and softer components are used, but for race car drivers, comfort is often sacrificed for performance.
It’s still driver-dependent, but stiffer high-speed compression works incredibly well on a smooth race track where bumps are less likely to have a significant effect.
Consider decreasing high-speed compression if you’d like more comfort and if track bumps or curbs feel jarring or upset the optimum racing line. But, if you’re bottoming out on bumps, feeling every bump and want to feel more comfortable, or you’re on a smooth track, consider increasing high-speed compression.
How to Adjust High-Speed Compression
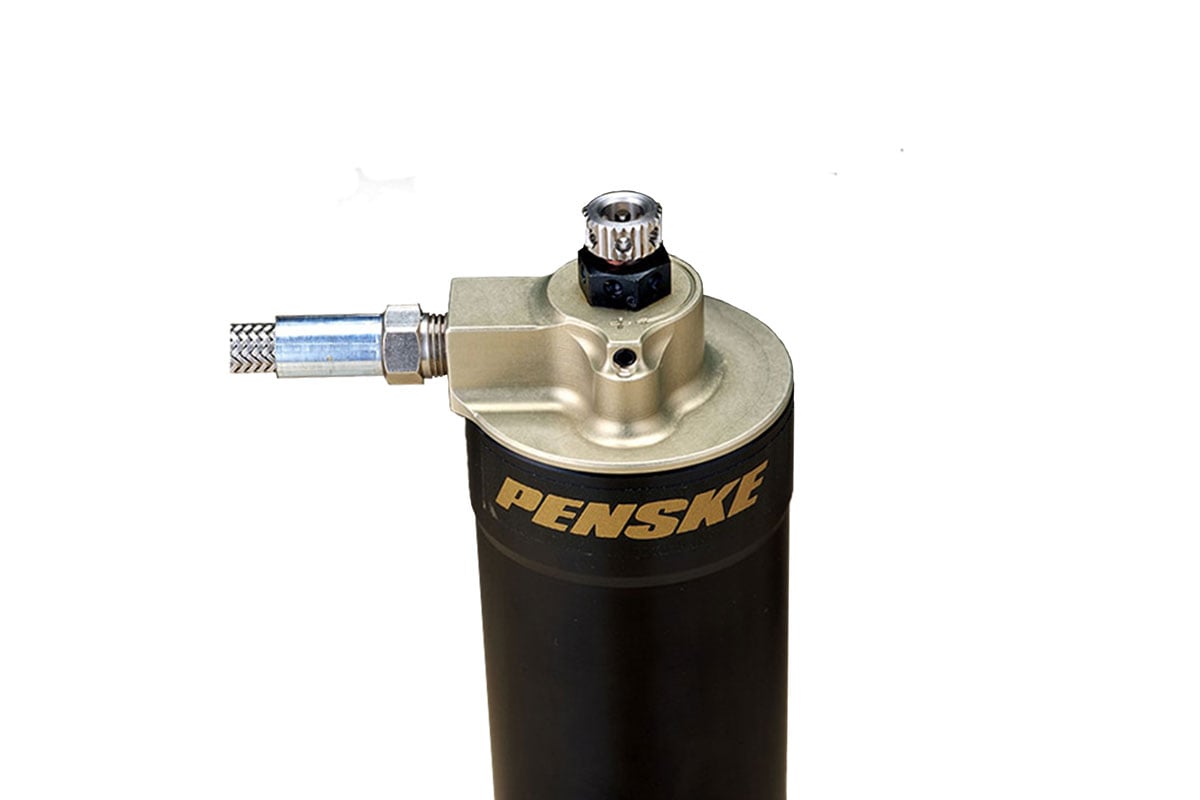
High-speed damping adjustments are made with hex nuts and a wrench. You can adjust in half-turns, quarter-turns, or even an eighth of a turn or clicks. You’ll make adjustments by turning the hex nut clockwise for a stiffer feel and counter-clockwise for a softer feel.
Focus on how your car or bike feels under high-speed impacts. Test and retest, don’t follow what other drivers do.
Always Start With Baseline Settings
Because different manufacturers use different designs, a few clicks of adjustments might be a little or a lot. Your shock should come with a dyno graph highlighting the adjustment range.
When adjusting low and high-speed damping, it’s good to have data to compare to. If the change is good or bad, you understand how much or how little of a change that was, and the easiest place to start is with the baseline setting.
Adjusting compression is an iterative process, and you should test and retest depending on the feel you want.
A Customized Shock Setup
With the knowledge you now have, you can begin to make adjustments to suit your preferences and style. But first, you need the right product, and the best shock for your application will make the adjustment process smoother.
You should be able to lean on setup guidance–the best shock manufacturers don’t just sell you your shocks; they help you optimize your setup. Ask questions and invest in a customized shock package.
Penske Racing Shocks continuously learns and develops new technologies by being trackside and supporting winning race teams. Our experience trickles down the product line and means we can always answer your questions and customize your shocks to ensure they perform optimally.
Reach out today and take advantage of our Shock + Setup + Support process.

%20(1).png)
